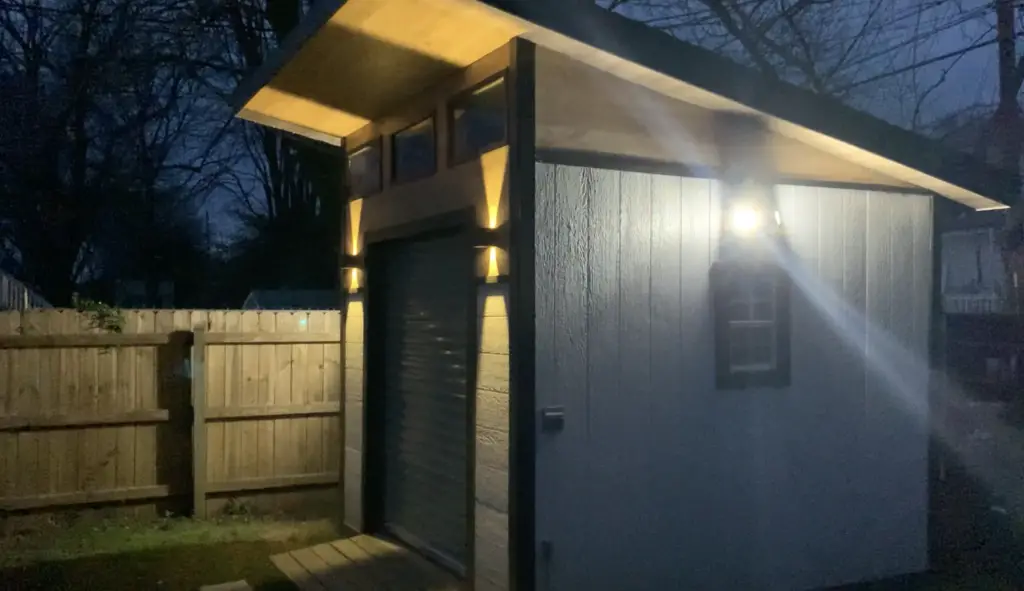
Wondering if it’s possible for you to run electricity to your shed without professional assistance? Well, the answer is yes, you can! Whether you want to power up some lights or use power tools in your shed, it is entirely possible to install electrical wiring and outlets on your own. However, before you start connecting wires, it’s essential to understand the safety precautions, obtain the necessary permits, and familiarize yourself with the local electrical codes. By following the proper steps and taking necessary precautions, you’ll be on your way to enjoying a fully electrified shed all by yourself.
Can I Run Electricity to My Shed By Myself?
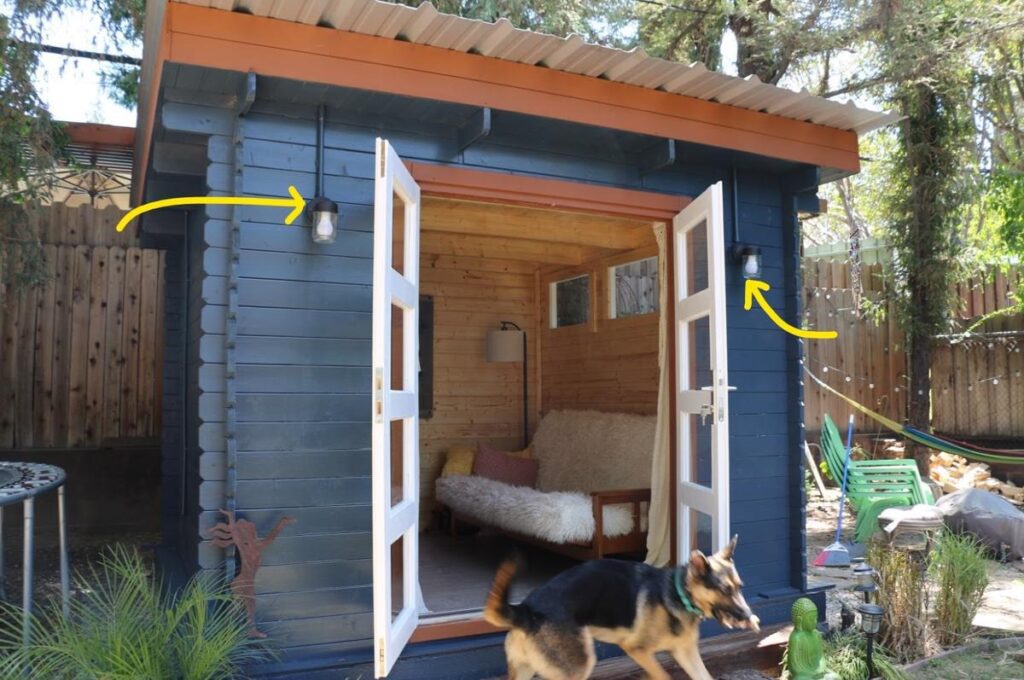

General Information
Running electricity to your shed can be a great way to enhance its functionality, whether you plan to use it as a workshop, office space, or simply for storage. However, before embarking on this project, it is important to understand the key considerations and steps involved to ensure safety and compliance with electrical codes and regulations. This comprehensive guide will walk you through the process, from assessing feasibility to testing and ensuring safety measures.
Assessing the Feasibility
The first step in determining whether you can run electricity to your shed by yourself is to assess the feasibility of the project. Consider factors such as the distance between your shed and the main power source, the existing electrical capacity of your home, and any obstacles that may impede the installation process. If the distance is significant or if you have limited electrical knowledge and expertise, it may be advisable to consult a licensed electrician to assess the feasibility and provide guidance.

Understanding Electrical Codes and Regulations
Electrical codes and regulations vary depending on your location, so it is crucial to familiarize yourself with the specific rules and requirements in your area. These regulations are put in place to ensure the safety of individuals and prevent electrical hazards. Contact your local building department or electrical regulatory agency to obtain the necessary information and permits required for the project. Compliance with these codes and regulations is essential to avoid potential fines or hazards.
Determining Power Requirements
Before proceeding with the installation, it is important to determine the power requirements of your shed. Assess how you plan to use the shed and the electrical appliances and equipment you intend to operate. This information will help you calculate the necessary electrical load and determine the appropriate amperage for your wiring, outlets, and breakers. If you are unsure about your power requirements, consult an electrician or use online calculators to ensure you install the appropriate electrical system for your shed.

Choosing the Right Wiring and Equipment
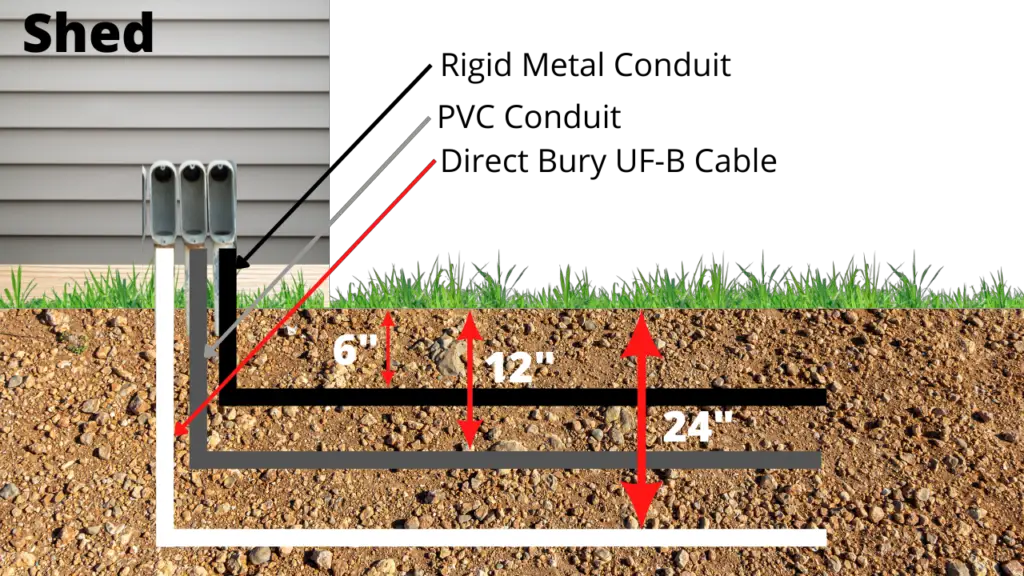
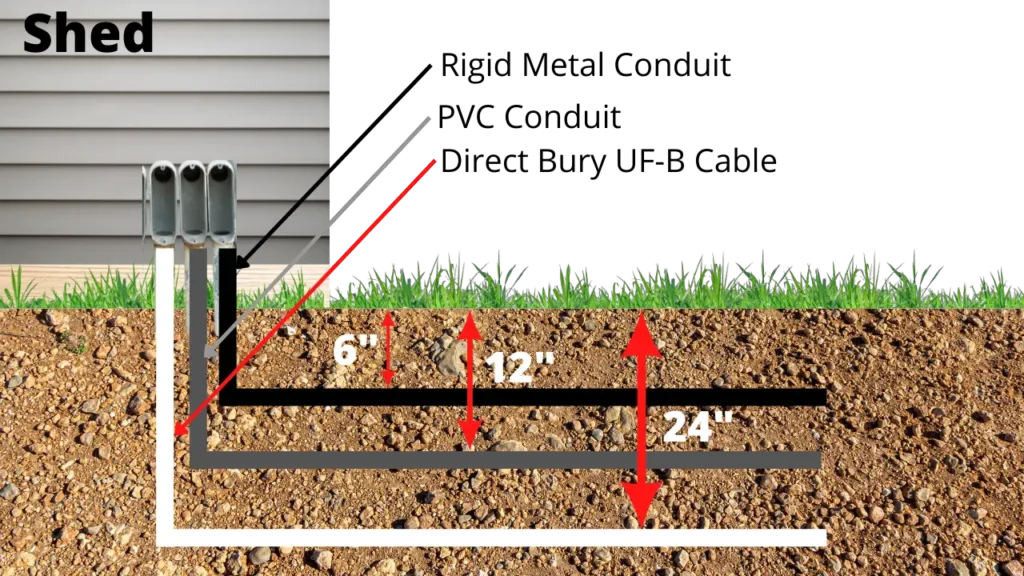
Selecting the appropriate wiring and equipment is a crucial aspect of installing electricity in your shed. The wiring you choose must be suitable for outdoor use and capable of withstanding the elements. Outdoor-rated cables, such as UF-B or direct burial cables, are commonly used for this purpose. Additionally, you need to choose the right size and type of electrical panel, outlets, breakers, and switches. Consider consulting an electrician or electrical supply professional to ensure you select the correct wiring and equipment for your specific requirements.
Planning the Route and Wiring Layout
Once you have assessed feasibility, understood electrical codes, determined power requirements, and chosen the appropriate wiring and equipment, it is time to plan the route and wiring layout for your shed. Careful planning is essential to ensure efficient installation and minimize potential hazards. Consider the shortest and safest route from the main power source to your shed, avoiding obstacles such as trees or structures. Plan the location of outlets, switches, and lighting fixtures within the shed, ensuring they meet your needs and comply with electrical codes.

Gathering Tools and Materials
Before starting the installation process, gather all the necessary tools and materials to complete the project smoothly. Some common tools required for running electricity to a shed include a shovel for trenching, wire cutters and strippers, a drill with various bits, a PVC conduit bender (if using conduit), a voltage tester, and a ladder. Ensure that you have all the required materials such as wires, conduits, connectors, junction boxes, and grounding equipment to complete the installation.
Installing the Electrical Panels and Breakers
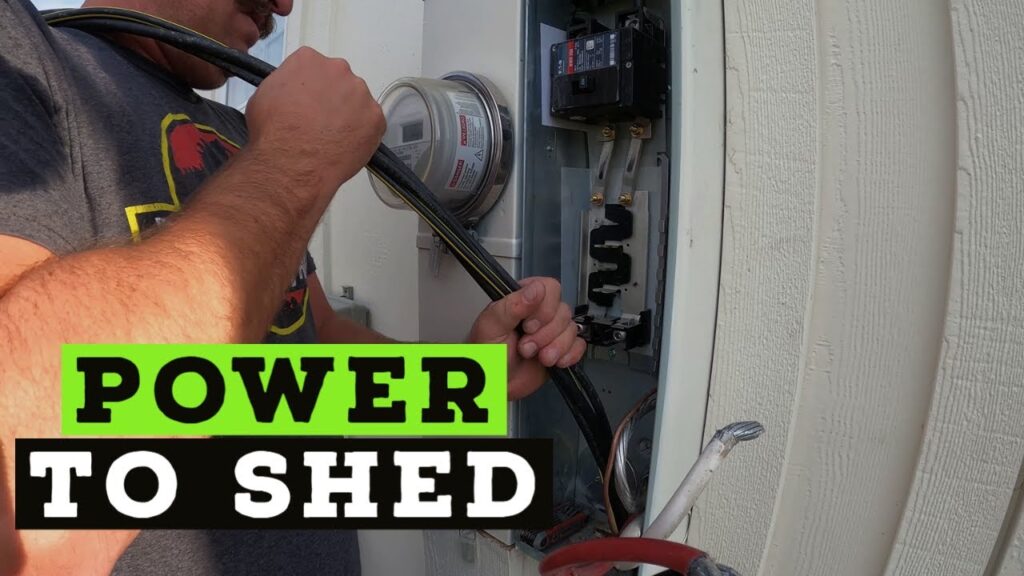
The installation process begins with installing the electrical panels and breakers. These panels are responsible for distributing and controlling the flow of electricity in your shed. Install the main electrical panel near the main power source, ensuring it is easily accessible. From the main panel, run a conduit or cable to the shed, protecting the wires from potential damage. Install the sub-panel in the shed, connecting it to the main panel, and properly ground both panels as per electrical codes.

Running the Wiring and Installing Outlets
With the panels and breakers in place, it is time to run the wiring and install the outlets in your shed. Depending on your chosen wiring method, such as direct burial cables or conduit, carefully run the wires from the main panel to the shed, following the planned route. Secure the wires in place and ensure they are protected where they enter the shed and feed into the sub-panel. Install outlets, switches, and lighting fixtures as per your wiring layout plan, ensuring proper grounding and compliance with electrical codes.
Connecting the Shed to the Main Power Source
Once the wiring and outlets are in place, it is time to connect your shed to the main power source. If you are unfamiliar with electrical work, it is highly recommended to consult a licensed electrician for this step, as it involves making the necessary connections at the main panel and ensuring proper grounding. Follow the electrical codes and regulations in your area and take necessary precautions to ensure a safe and reliable connection to the main power source.
Testing and Ensuring Safety Measures
After completing the installation, it is important to test the electrical system in your shed to ensure everything is functioning correctly and safely. Use a voltage tester to verify that the wiring is properly connected and there are no live wires where there shouldn’t be. Test each outlet and switch to ensure they are working correctly and properly grounded. Verify that your shed’s electrical system meets the load requirements and can handle the equipment and appliances you intend to use. It is crucial to double-check all safety measures, such as ground fault circuit interrupters (GFCIs) and proper grounding, to minimize the risk of electrical hazards.
Running electricity to your shed by yourself can be a rewarding project, but it requires careful planning, knowledge of electrical codes and regulations, and a thorough understanding of power requirements and safety measures. If you are unsure about any aspect of the installation process, it is always best to consult a licensed electrician to ensure a safe and compliant electrical system in your shed.

