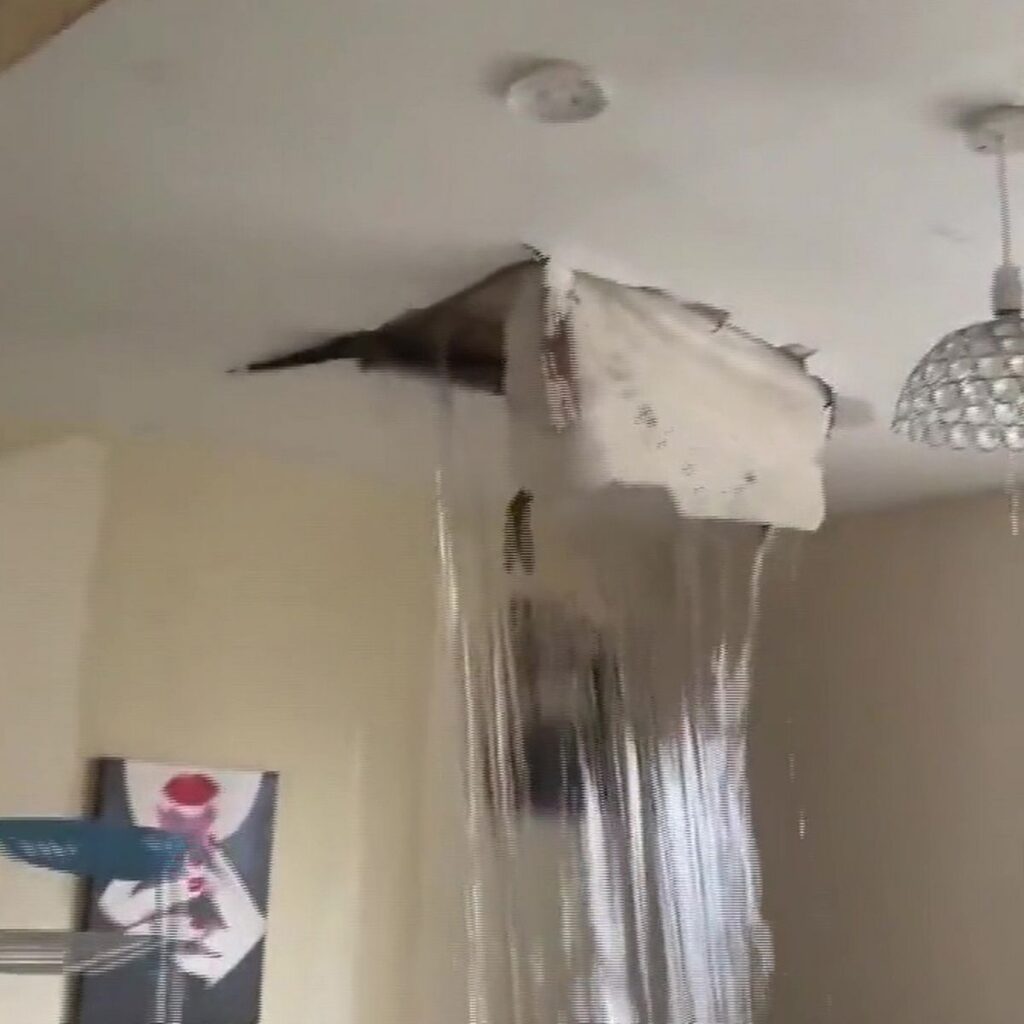
If you’re dealing with a leaking roof under your shingles, you know it’s not something to ignore. It’s crucial to address the issue promptly to prevent any further damage to your home. In this article, we’ll explore some solutions to help you fix that pesky leak and keep your roof in tip-top shape. So, if you’re ready to tackle this challenge head-on, read on to discover some effective strategies.

Inspecting the Roof
Identifying the Leaks
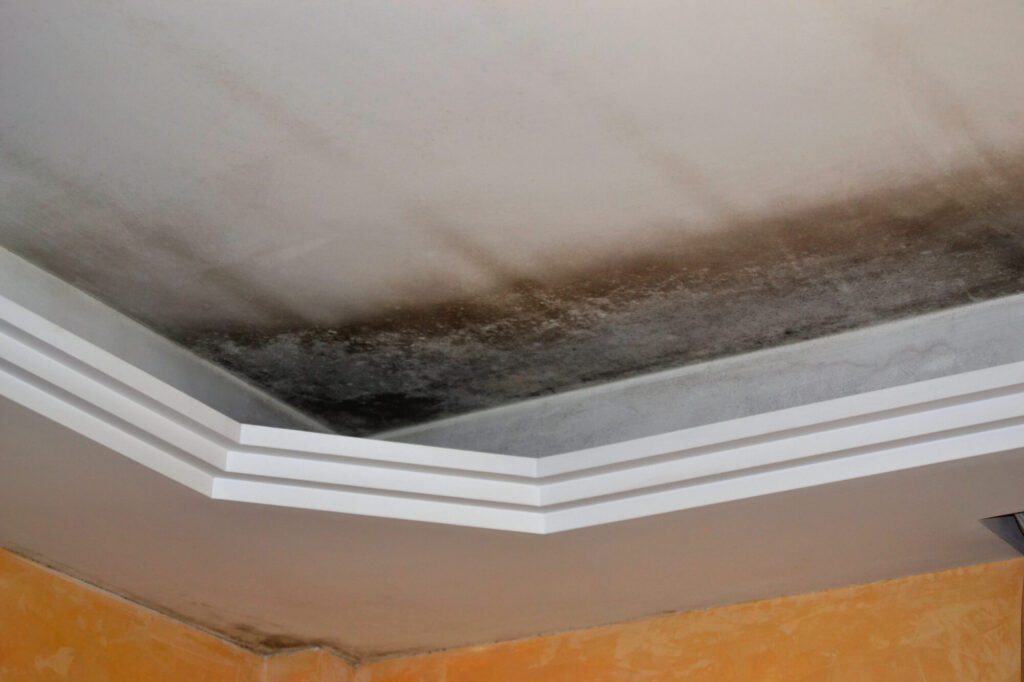
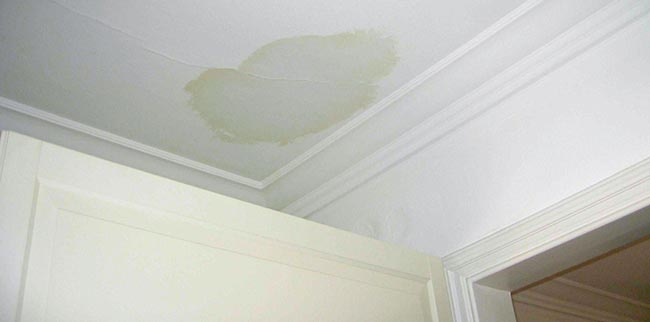
When faced with a leaking roof, the first step is to identify the exact source of the leak. Water can often travel along rafters or even pipes before it starts to drip into your home, making it challenging to determine the original point of entry. To pinpoint the leaks, you can start by examining the attic for any signs of water stains or dampness. Look for areas where the insulation may be damp or discolored, as these can indicate the general vicinity of the leak. Once you have identified the general area, it’s time to move onto the next step.
Assessing the Roof Damage
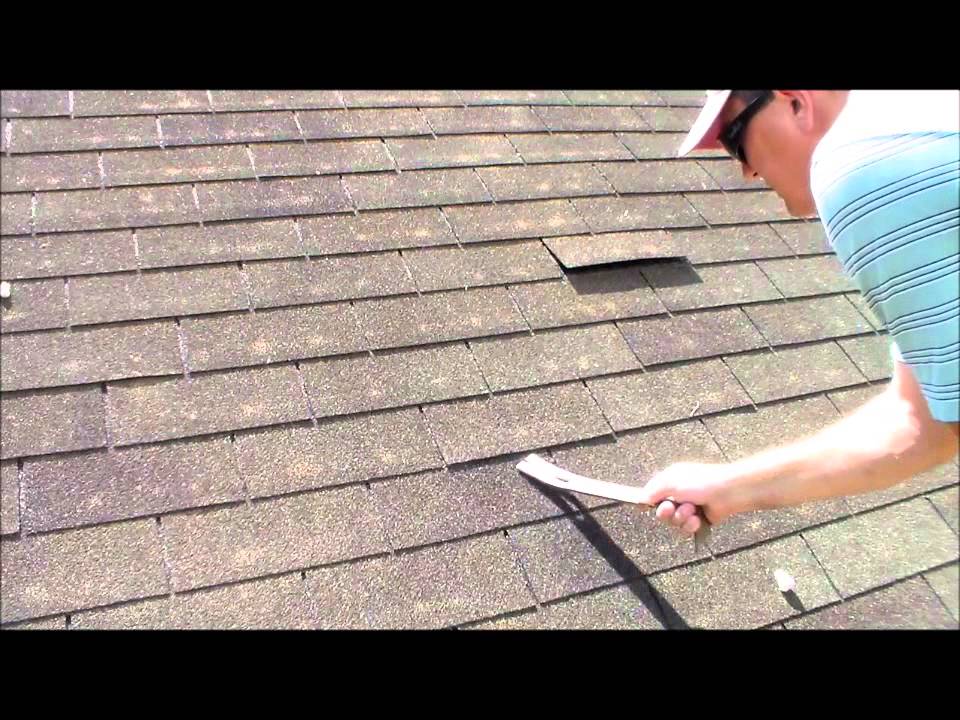
Once you have located the general area of the leak, it’s crucial to assess the extent of the roof damage. Carefully inspect the shingles in the immediate vicinity of the leak for any signs of damage. Look for cracked, curled, or missing shingles that could be allowing water to penetrate the roof. Additionally, check for any loose or damaged flashing around chimneys, skylights, or vents. Take note of any damaged areas that need repair or replacement. Remember to proceed with caution when inspecting your roof and avoid stepping on weak or damaged areas to ensure your safety.
Determining the Underlying Cause
After identifying the leaks and assessing the roof damage, it is essential to determine the underlying cause of the issue. Common causes of roof leaks include damaged shingles, deteriorated flashing, cracked vent boots, or problems with the underlayment. By understanding what led to the leak, you can address the root cause and prevent similar issues from arising in the future. In some cases, it may be necessary to consult a professional roofing contractor to accurately identify the underlying cause and develop an effective repair strategy.
Preparing for Repairs
Gathering Necessary Tools and Materials
Before beginning any repairs, gather the necessary tools and materials. This will ensure that you have everything you need within reach, saving you time and effort. Common tools you may need include a hammer, pry bar, utility knife, roofing nails, roofing cement, and a ladder. In terms of materials, ensure you have enough replacement shingles, flashing, vent boots, and sealants for the repairs. Having everything ready beforehand will streamline the repair process and allow you to complete the job efficiently.
Ensuring Safety Measures
Safety should always be a top priority when working on your roof. Ensure you have a sturdy and reliable ladder to access your roof safely. Double-check that it is on stable ground and securely positioned before climbing up. If possible, have someone nearby to help stabilize the ladder and assist you if needed. Additionally, wear appropriate protective gear such as gloves and non-slip shoes to prevent any accidents or injuries. If you are uncomfortable with heights or unsure about performing the repairs yourself, it is always best to seek professional help.

Temporary Solutions for Emergency Situations
Using Tarps or Plastic Sheets
In emergency situations where immediate action is needed, utilizing tarps or plastic sheets can provide temporary relief from leaks. If you are unable to address the underlying cause of the leak at the moment, covering the affected area with a tarp or plastic sheet can help prevent further damage to your home. Ensure the tarp is securely fastened to avoid it being blown away by wind or rain. While this solution will not fix the actual leak, it can provide a temporary barrier until proper repairs can be made.
Applying Sealants or Patching Compounds
Another temporary solution for emergency leaks is applying sealants or patching compounds. These products can help seal small cracks or gaps in your roof temporarily. Apply the sealant or patching compound to the affected area according to the manufacturer’s instructions. Be sure to clean the area thoroughly before applying the product to ensure proper adhesion. Although these solutions are not long-term fixes, they can help minimize the extent of the damage until permanent repairs can be carried out.
Repairing a Leaking Roof
Replacing Damaged Shingles
If damaged shingles are the cause of the leak, replacing them is the most effective solution. Start by carefully removing the damaged shingles using a pry bar or hammer. Take care not to damage the surrounding shingles during the removal process. Once the damaged shingles have been removed, replace them with new ones by sliding them into place and securing them with roofing nails. Be sure to align the new shingles properly to ensure a seamless appearance and efficient water runoff.
Repairing or Installing Flashing
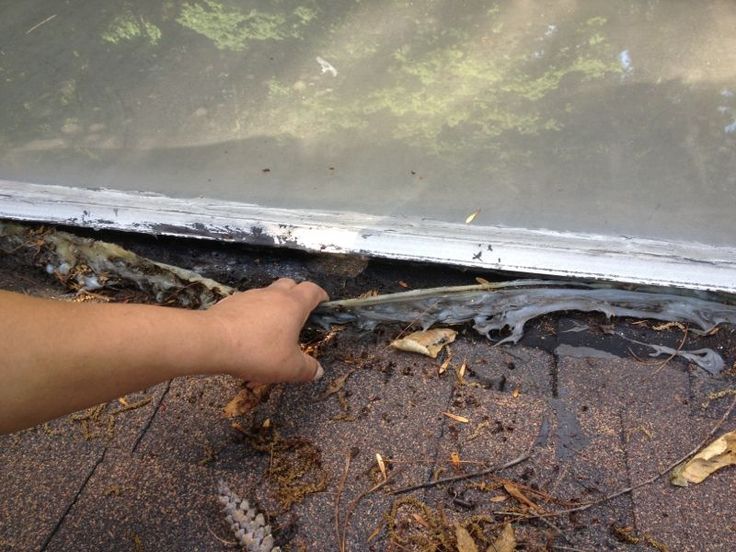
Flashing is essential for directing water away from vulnerable areas on your roof, such as chimneys, skylights, or vents. If the flashing is damaged or improperly installed, it can cause leaks. To repair flashing, remove the damaged section and replace it with new flashing. Ensure the new flashing is securely fastened using roofing nails or an appropriate adhesive. If the flashing is missing altogether, you will need to install new flashing to protect the vulnerable area from the elements.
Fixing Cracked or Missing Vent Boots
Vent boots provide a protective covering around vent pipes, preventing water from entering the roof. Over time, these boots can crack or become dislodged, leading to leaks. To fix cracked vent boots, remove the damaged boot and replace it with a new one. Ensure the new boot is securely attached to the vent pipe and the surrounding shingles. In cases where the vent boot is missing, measure the diameter of the vent pipe and purchase a new boot that fits snugly. Install the new boot securely to prevent further leaks.
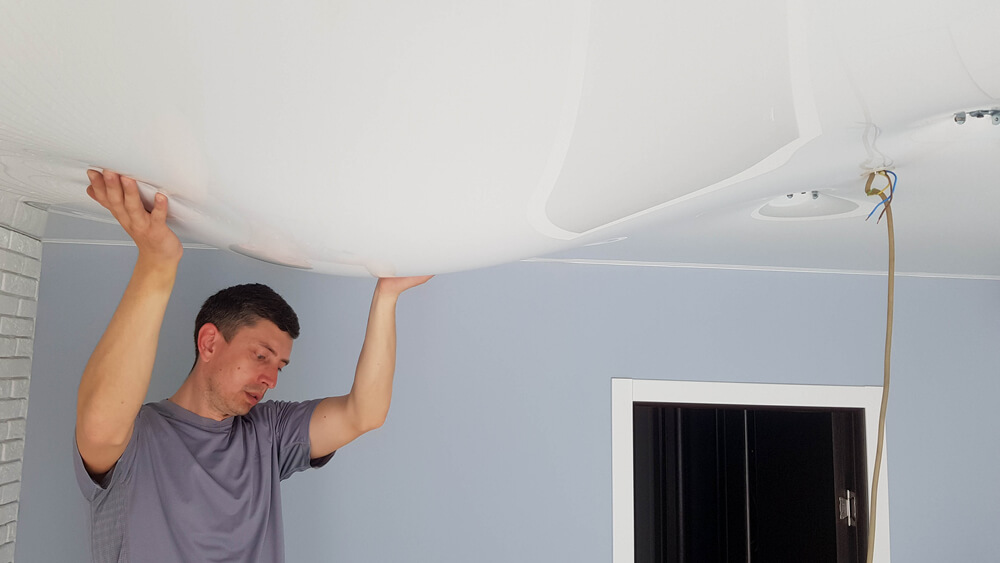
Repairing the Underlayment
The underlayment serves as an additional layer of protection beneath your shingles, helping to prevent water penetration. If the underlayment is damaged or deteriorated, it can result in leaks. To repair the underlayment, carefully lift the damaged shingles and remove the damaged section of underlayment. Replace it with a new piece, ensuring it is cut to size and properly aligned. Once the new underlayment is in place, reposition the shingles and secure them with roofing nails.
Replacing Damaged Roof Tiles
If your roof consists of tiles and a leak is originating from a damaged tile, replacing the tile is necessary. Start by carefully removing the surrounding tiles to gain access to the damaged one. Slide a pry bar beneath the damaged tile and gently lift it to remove it from its position. Install a new tile in its place, ensuring it fits snugly and aligns with the surrounding tiles. Once the new tile is in place, reposition the previously removed tiles and secure them as necessary.

Addressing Issues with Valleys and Chimneys
Sealing Valley Gaps
Roof valleys are areas where two sloped sections of the roof meet, making them prone to leaks. If there are gaps or openings in the valley, water can seep through and cause damage. To seal valley gaps, apply roofing cement along the entire length of the valley, ensuring it fills any gaps or spaces. Smooth the cement with a trowel to create an even surface. This will create a watertight seal, preventing leaks and protecting your roof.
Replacing Valley Flashing
Similar to repairing flashing around vents and chimneys, valley flashing can also become damaged or deteriorated over time. If the valley flashing is causing leaks, it is necessary to replace it. Start by removing the damaged flashing, carefully lifting the surrounding shingles to access it. Install new valley flashing, ensuring it aligns properly with the existing roof materials. Secure the flashing in place using roofing nails or appropriate adhesive. Once the flashing is replaced, reposition the shingles and secure them as needed.
Repairing Chimney Flashing
Flashing around chimneys is crucial for preventing water from entering your home. If the chimney flashing is damaged or deteriorated, it can result in leaks. To repair chimney flashing, remove the damaged flashing and clean the area thoroughly. Apply a layer of roofing cement to the chimney where the flashing will be installed. Install the new flashing, ensuring it is secure and properly sealed. Smooth the roofing cement over the edges of the flashing to create a watertight seal.
Sealing Chimney Cracks
In addition to addressing the flashing, it is important to seal any cracks in the chimney itself. Using a high-quality chimney sealant, fill in any cracks or gaps along the chimney’s surface. Smooth the sealant with a putty knife to create an even finish. This will help prevent water from entering through the cracks and causing leaks. Regularly inspect and maintain the chimney to ensure any new cracks or gaps are promptly addressed and sealed.
Fixing Leaks near Skylights or Vents
Inspecting Skylight and Vent Flashing
Skylights and vents are vulnerable areas for leaks, especially if the flashing is damaged or improperly installed. Start by inspecting the flashing around the skylights and vents for any signs of damage or deterioration. Look for cracks, gaps, or areas where the flashing may have become dislodged. If any issues are identified, proceed with the necessary repairs or replacements to prevent further leaks.
Replacing Damaged Skylight or Vent Boots
If the skylight or vent boots are damaged, they will need to be replaced to fix the leak. Start by removing the damaged boots, ensuring you disconnect any fasteners or screws holding them in place. Measure the diameter of the skylight or vent and purchase new boots that fit correctly. Install the new boots, ensuring they are securely attached to the skylight or vent and properly sealed. This will provide a reliable barrier against leaks.
Applying Sealant around Skylights or Vents
To add an extra layer of protection and prevent leaks, apply a generous amount of roofing sealant around the edges of skylights or vents. This will help create a watertight seal, minimizing the risk of water intrusion. Use a caulking gun or appropriate applicator to carefully apply the sealant, ensuring it fills any gaps or spaces. Smooth the sealant with a putty knife for an even finish. Regularly inspect and maintain the sealant to ensure it remains intact and effective.

Repairing Leaks in Flat Roof Areas
Identifying Flat Roof Leaks
Flat roofs come with their own set of challenges when it comes to leaks. Identifying the source of a flat roof leak can be more difficult due to the lack of slope and drainage. Begin by inspecting the entire flat roof surface for any signs of damage or ponding water. Look for cracks, blisters, or areas where the roofing membrane has become loose or damaged. Identifying these issues will help guide your repairs and prevent further water intrusion.
Repairing Blisters or Cracks
Blisters and cracks are common issues with flat roofs that can lead to leaks. To repair blisters, carefully cut a slit in the blistered area and apply roofing cement underneath. Press the blister down firmly to adhere it to the cement. For cracks, clean the area thoroughly and apply roofing cement along the entire length of the crack. Smooth the cement with a trowel to create a watertight seal. These repairs will help reinforce the affected areas and minimize the risk of leaks.
Patching Leaks with Roofing Cement
For smaller leaks or minor damage on flat roofs, patching with roofing cement can provide a temporary solution. Clean the damaged area thoroughly and apply a generous amount of roofing cement. Smooth the cement with a trowel to create an even surface. While this is not a permanent fix, it can help prevent further water intrusion until more extensive repairs can be carried out.
Repairing Leaks in Sloped Roof Areas
Checking for Damaged or Loose Shingles
Leaks in sloped roof areas can often be traced back to damaged or loose shingles. Start by inspecting the shingles in the affected area for any signs of cracking, curling, or missing pieces. These issues can allow water to enter your home, causing leaks. If damaged or loose shingles are identified, address them by replacing the damaged ones or securing the loose shingles with roofing nails or an appropriate adhesive.
Addressing Leaks near Roof Valleys
Roof valleys, where two sloped sections meet, are prone to leaks if not properly sealed. To address leaks near roof valleys, inspect the flashing and ensure it is in good condition. If the flashing is damaged, replace it with new flashing, ensuring it is securely attached and properly sealed. Additionally, seal any gaps or spaces along the valley with roofing cement to prevent water from entering the area and causing leaks.
Repairing Pinhole Leaks
Pinhole leaks can be caused by small punctures or damage to the roofing material. To repair pinhole leaks on sloped roofs, clean the damaged area thoroughly and apply roofing cement over the affected spot. Smooth the cement with a trowel to ensure a watertight seal. This will prevent further water penetration and minimize the risk of leaks. Regularly inspect your sloped roof for any signs of new pinhole leaks and address them promptly to avoid further damage.

Preventing Future Roof Leaks
Cleaning Gutters Regularly
Keeping your gutters clean is crucial to prevent roof leaks. Clogged gutters can cause water to overflow onto the roof, leading to water damage and leaks. Regularly remove any debris, leaves, or twigs from your gutters to ensure proper water drainage. Consider installing gutter guards to minimize the need for frequent cleaning and reduce the risk of clogs.
Maintaining Trees and Branches
Overhanging tree branches can cause significant damage to your roof, leading to leaks. Regularly trim back any branches that hang over your roof to minimize the risk of fallen branches or rubbing against the shingles. Additionally, be mindful of any trees close to your home that may have invasive roots. These roots can potentially penetrate the roof and cause damage, leading to leaks. Monitor and address any tree root issues promptly to prevent future problems.
Periodically Inspecting and Maintaining the Roof
Regular roof inspections and maintenance are essential for preventing future leaks. Inspect your roof at least once a year, preferably before the rainy season, to identify any potential issues. Look for signs of damage, such as cracked or missing shingles, deteriorated flashing, or worn-out sealants. Address any identified problems promptly to prevent them from escalating into major leaks. Additionally, consider scheduling professional roof maintenance to ensure your roof remains in optimal condition.
Calling Professional Help
When to Seek Professional Assistance
While many roof leaks can be addressed with DIY repairs, there are situations where professional assistance may be necessary. If you are uncomfortable with heights or lack experience with roofing repairs, it is best to leave the job in the hands of professionals. Additionally, if the extent of the damage is significant or the underlying cause of the leak is unclear, contacting a reputable roofing contractor is advisable. They have the knowledge, skills, and equipment to accurately assess the situation and provide effective repairs.
Finding a Reputable Roofing Contractor
When selecting a roofing contractor, it is important to do thorough research to ensure their expertise and reliability. Seek recommendations from friends, family, or neighbors who have recently had roof repairs or replacements. Look for contractors with a valid license and insurance to protect against any liabilities during the repair process. Request multiple quotes and compare them to ensure you are getting a fair price for the services offered. Furthermore, read reviews and testimonials online to gauge the reputation and quality of work of potential contractors. Taking these steps will help you find a reputable roofing contractor you can trust with your roof repairs.
In conclusion, fixing a leaking roof under shingles requires careful inspection, identification of the leaks, assessing the roof damage, and determining the underlying cause. Preparing for repairs involves gathering necessary tools and materials, as well as ensuring safety measures are in place. Temporary solutions such as using tarps or plastic sheets and applying sealants or patching compounds can be employed in emergency situations. Repairing a leaking roof involves specific techniques like replacing damaged shingles, repairing or installing flashing, fixing cracked or missing vent boots, repairing the underlayment, or replacing damaged roof tiles. Addressing issues with valleys and chimneys, fixing leaks near skylights or vents, and repairing leaks in flat or sloped roof areas requires specialized attention and techniques. Preventing future roof leaks involves regular maintenance, such as cleaning gutters, maintaining trees and branches, and periodically inspecting the roof. Finally, when necessary, it is important to seek professional help by knowing when to call a roofing contractor and finding a reputable one. By following these steps and taking the appropriate actions, you can effectively fix a leaking roof under shingles and maintain the integrity of your roof for years to come.