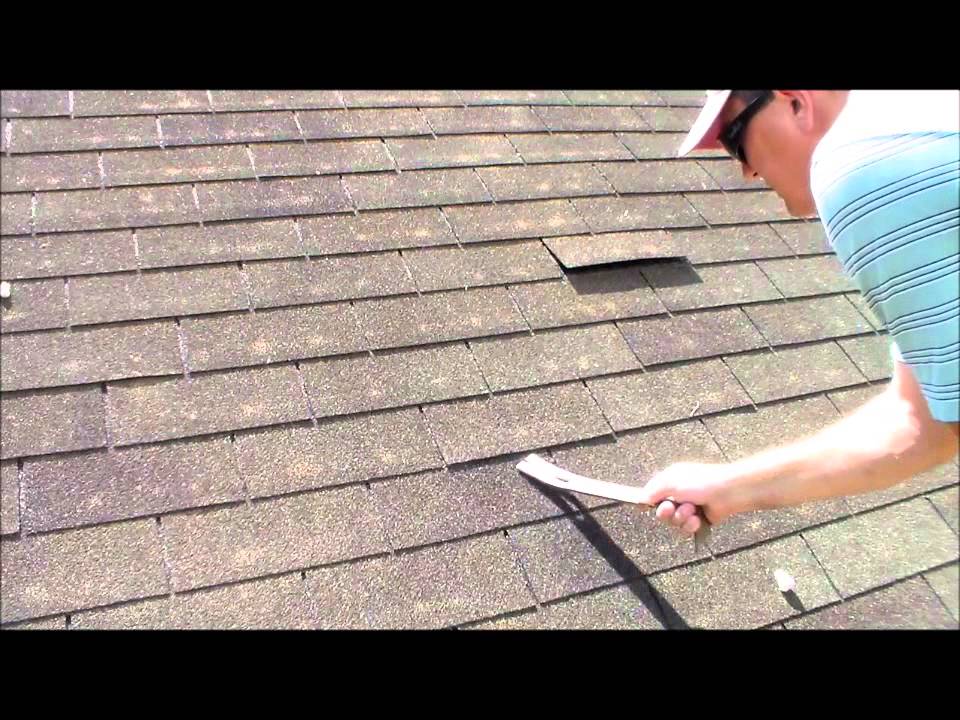
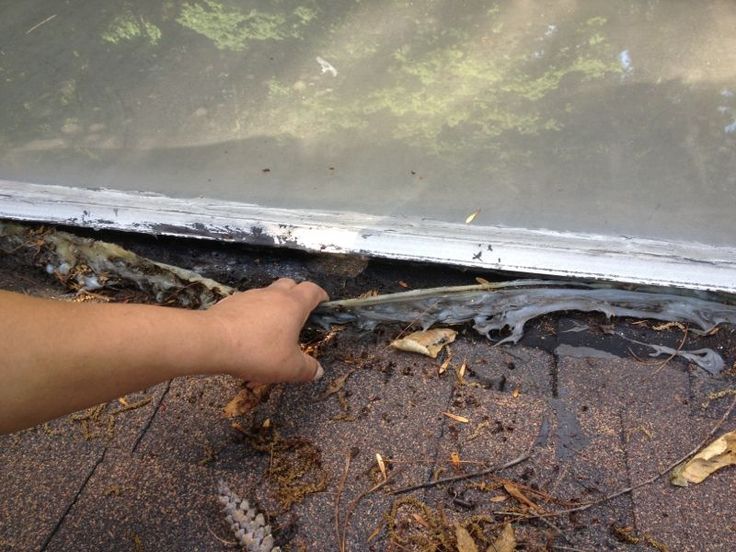
Imagine this scenario: you just noticed a couple of leaks in your roof after a heavy rainstorm. Concerned, you begin to wonder if you can apply roof sealant to a wet roof. Well, the answer might surprise you. In this article, we will explore whether or not it is possible to effectively put roof sealant on a wet roof and discuss the potential risks and benefits of doing so.
Can You Put Roof Sealant On A Wet Roof?

Understanding the Importance of a Dry Surface
When it comes to applying roof sealant, ensuring that the surface is dry is of utmost importance. A wet roof can lead to several complications and may compromise the effectiveness of the sealant. Before diving into the risks and impact of applying sealant on a wet surface, let’s first understand why a dry surface is necessary.
A dry surface allows the sealant to adhere properly to the roof, forming a strong bond. It also prevents moisture from becoming trapped underneath the sealant, which can cause long-term damage to the roof. Additionally, a dry surface ensures that the sealant cures properly, enhancing its durability and lifespan.
The Risks of Applying Sealant on a Wet Roof
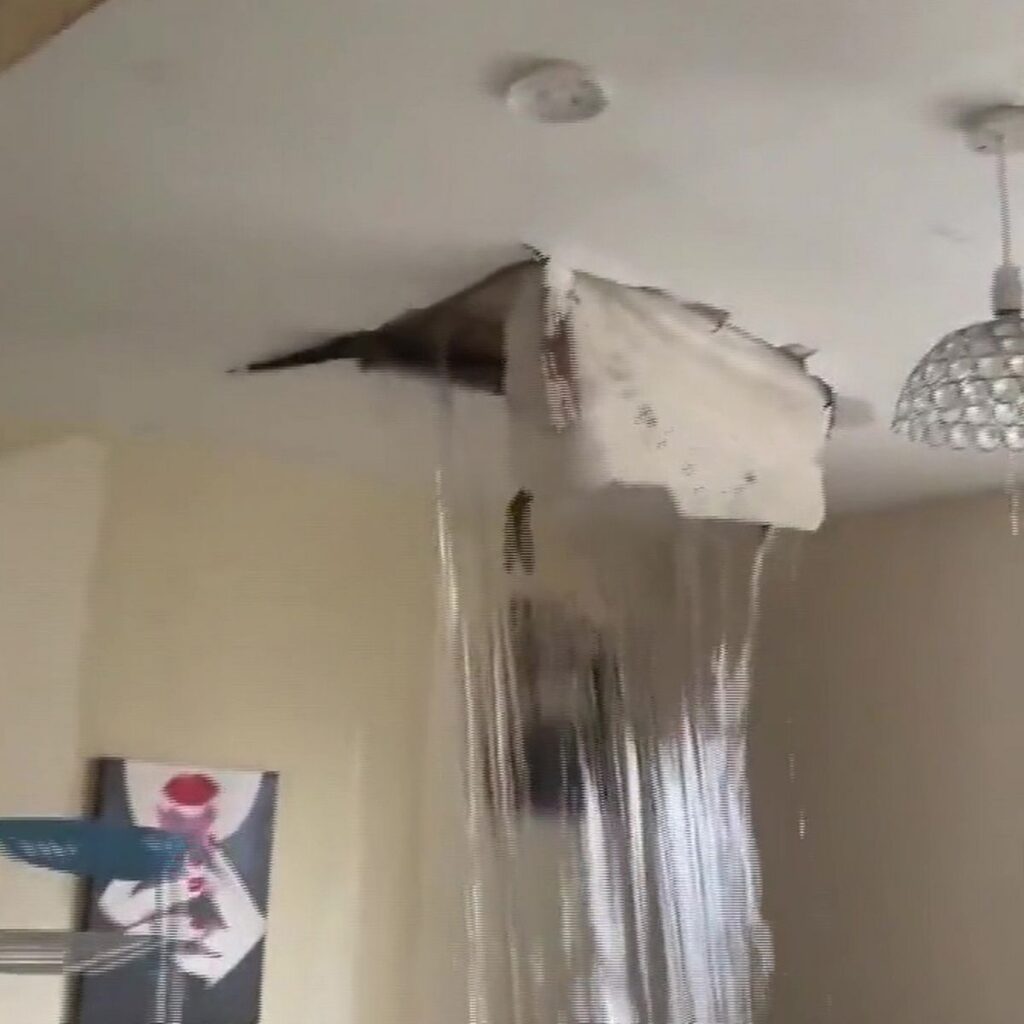
Applying roof sealant on a wet surface can lead to various risks and consequences. Firstly, the presence of moisture prevents the sealant from properly adhering to the roof. This weakens the sealant’s ability to create a watertight barrier, leaving your roof vulnerable to leaks and water damage.
Furthermore, when sealant is applied to a wet roof, it may not cure correctly. This can result in a gummy or tacky surface that attracts dirt, debris, and other contaminants. Ultimately, this compromises the longevity of the sealant and may require reapplication sooner than anticipated.

The Impact of Moisture on Sealant Performance
Moisture has a significant impact on the performance of roof sealant. It interferes with the chemical composition of the sealant, preventing it from setting and curing properly. This compromises the sealant’s ability to withstand harsh weather conditions, such as rain, snow, and UV rays.
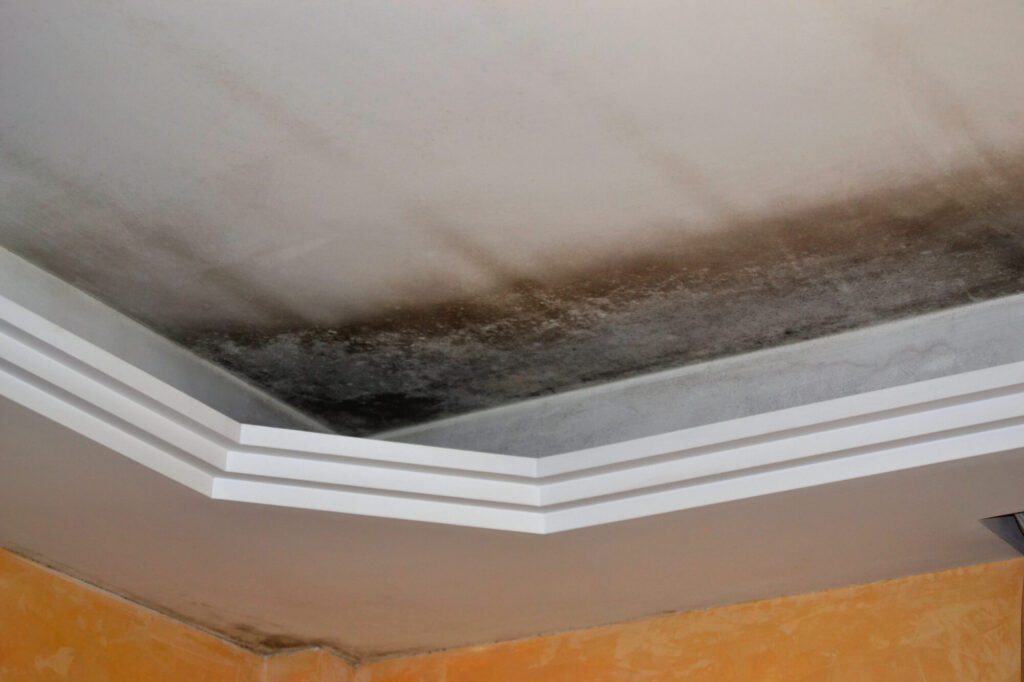
In addition, moisture trapped beneath the sealant can lead to the growth of mold or mildew. These unwanted organisms not only deteriorate the quality of the sealant but also pose health risks to the inhabitants of the building. Therefore, it is crucial to ensure a dry surface before applying sealant to maintain its performance and effectiveness.
Determining the Moisture Content of the Roof
Before applying sealant, it is essential to determine the moisture content of the roof. This can be done using a moisture meter, which measures the presence of moisture within the roofing material. Moisture levels above 15-20% generally indicate a wet surface and precautionary measures must be taken before applying sealant.
A moisture meter should be used in multiple spots across the roof to get an accurate average reading. This will help you determine the overall moisture content and decide whether it is safe to proceed with the sealant application.

Factors Influencing Drying Time
The drying time of a wet roof can vary depending on several factors. These factors include the climate and weather conditions, the type of roofing material, the thickness of the roof, and the extent of moisture saturation. Understanding these variables is crucial in determining the time required for the roof to dry completely.
In humid environments or during rainy seasons, the drying process may take longer. Additionally, certain roofing materials, such as concrete or clay tiles, may retain moisture more than others, resulting in a prolonged drying period. It is essential to consider these factors and exercise patience to ensure a fully dry surface before applying roof sealant.
Preparing a Wet Roof for Sealant Application
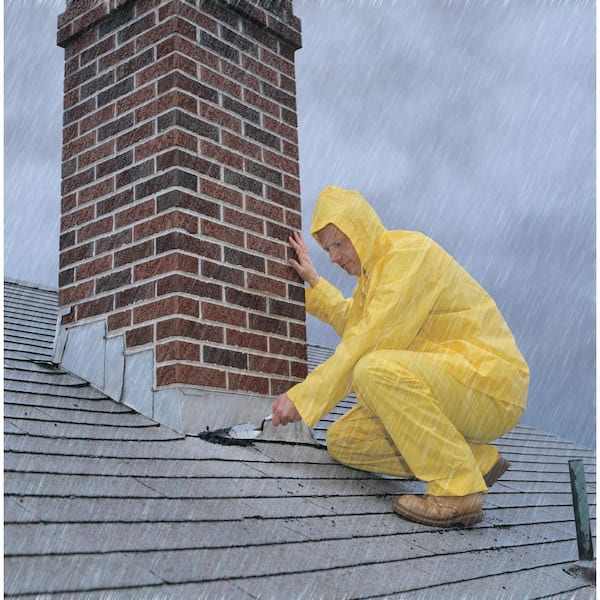
Before applying sealant to a wet roof, it is necessary to take certain steps to prepare the surface properly. The first step is to remove any standing water or puddles from the roof. This can be done using a squeegee or a water vacuum to ensure that the surface is as dry as possible.
Next, remove any debris or loose materials from the roof, as they can interfere with the bonding process of the sealant. Carefully inspect the roof for any signs of damage or leaks that may have caused the moisture to accumulate. Repairing these issues before applying the sealant is essential to prevent further damage to the roof.

Using a Roofing Primer for Wet Surface
To enhance the adhesion and effectiveness of the sealant on a wet surface, using a roofing primer is highly recommended. A roofing primer is specifically designed to create a strong bond between the sealant and the roof, making it suitable for wet surfaces. The primer acts as an additional layer of protection, ensuring that the sealant adheres properly and performs optimally.
The roofing primer should be applied according to the manufacturer’s instructions. Typically, it is important to allow the primer to dry completely before proceeding with the sealant application.
Selecting the Right Type of Sealant
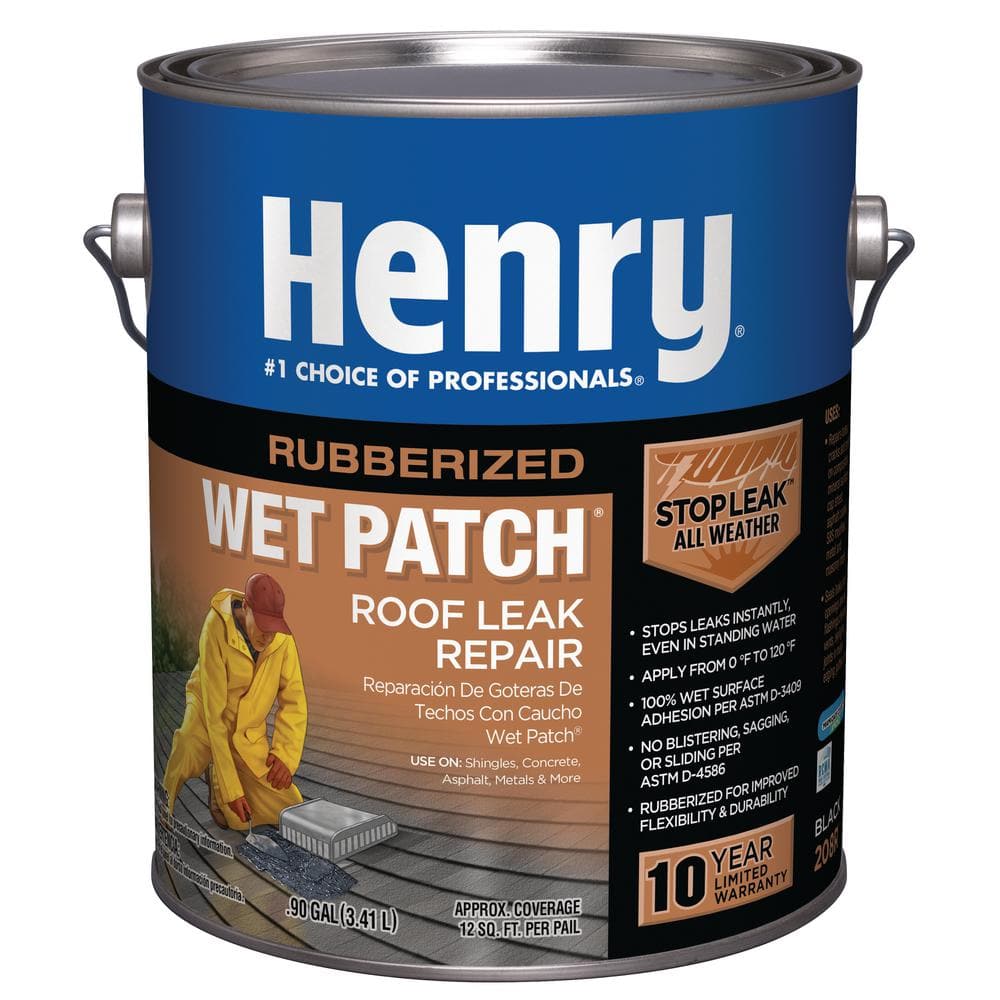
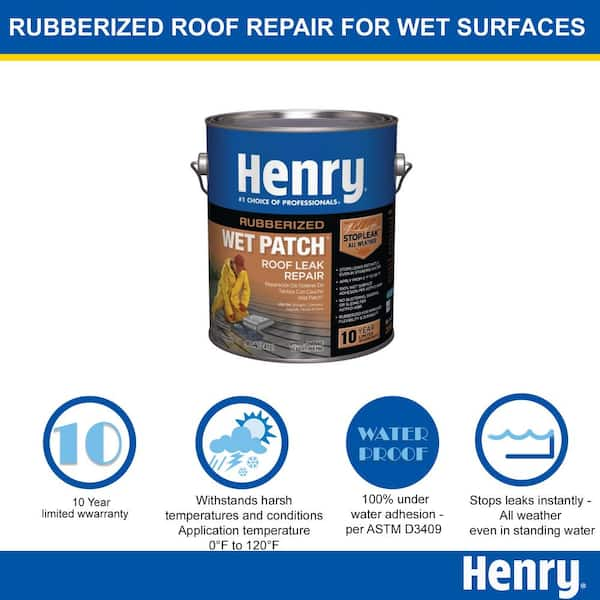
Choosing the right type of sealant is crucial for both the success and longevity of your roof repair. When it comes to sealing a wet roof, it is necessary to select a sealant that is specifically designed for such conditions. These sealants are formulated to cure and adhere effectively even on damp surfaces, providing superior protection against moisture damage.
When selecting a sealant, consider factors such as its compatibility with your roofing material, flexibility, and resistance to UV rays and extreme weather conditions. Consulting a professional or referring to the manufacturer’s guidelines can help you make an informed decision and ensure the correct sealant is chosen for your wet roof.

Applying Sealant to a Wet Roof
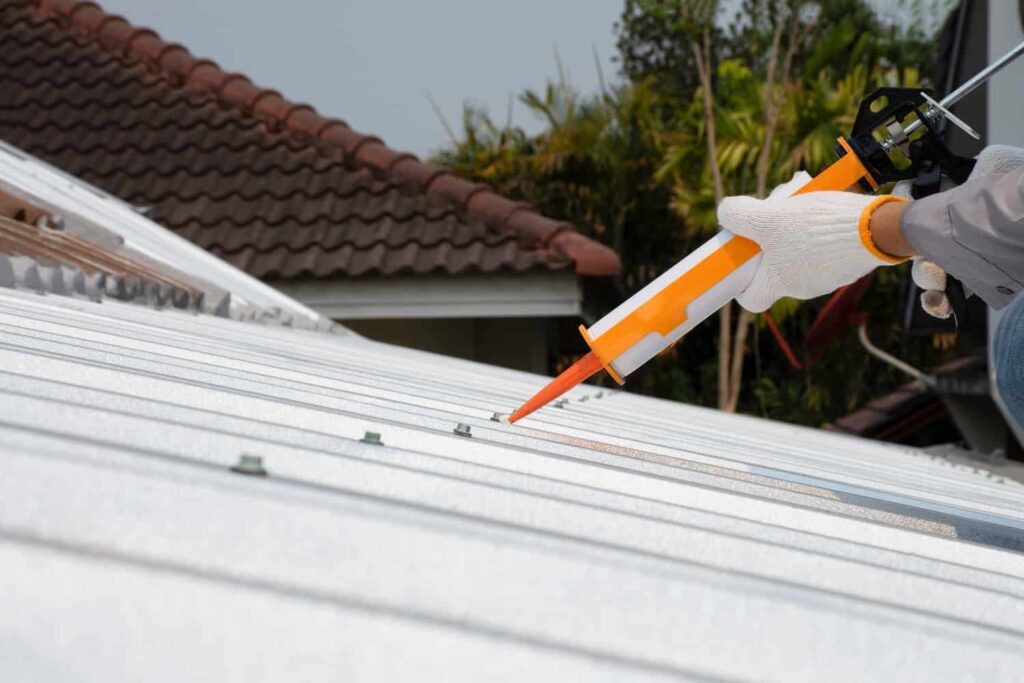
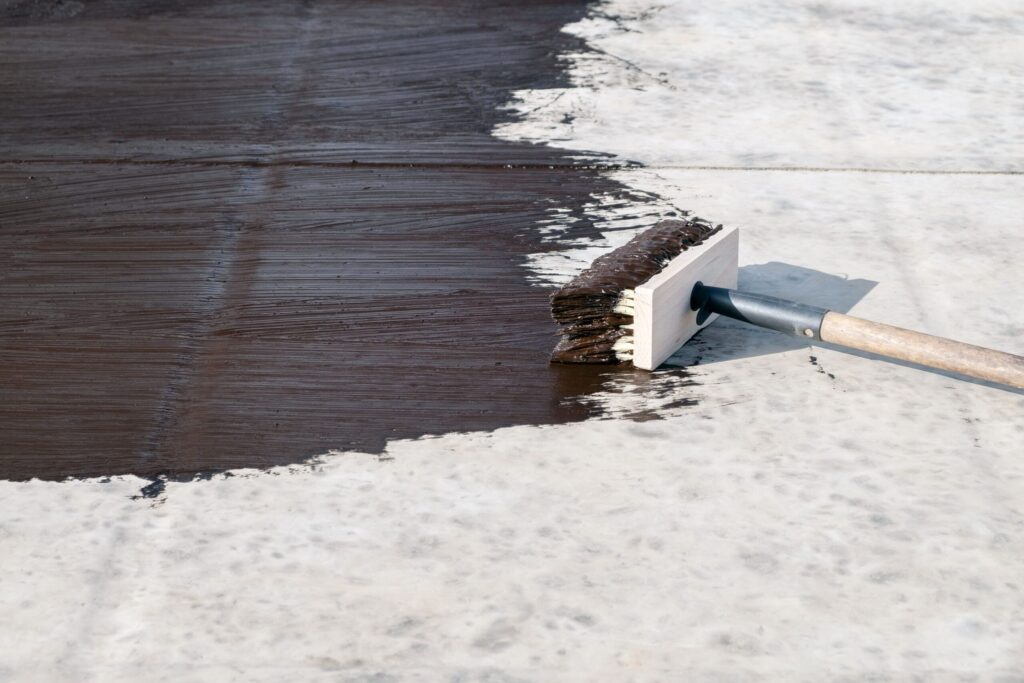
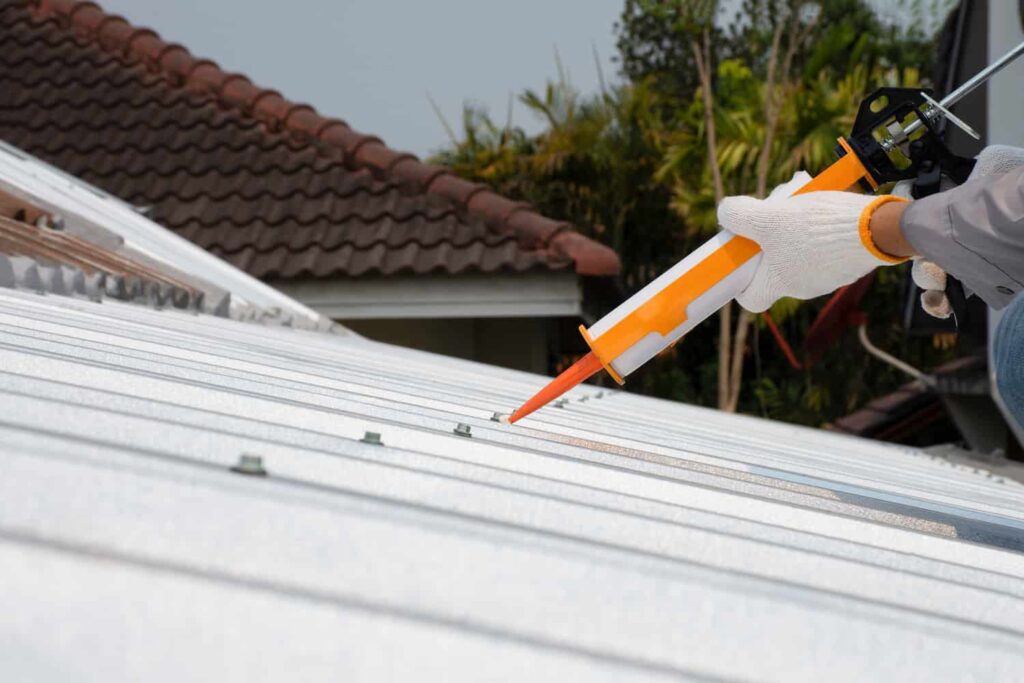
Once the surface has been properly prepared, and the roofing primer has dried, it is time to apply the sealant to the wet roof. Follow the manufacturer’s instructions carefully to ensure proper application techniques and coverage. Use a brush, roller, or spray equipment depending on the recommended method for your chosen sealant.
Apply the sealant evenly, making sure to cover the desired area thoroughly. Pay attention to any gaps, cracks, or areas prone to leakage. Applying multiple coats may be necessary to achieve the desired level of protection and ensure a long-lasting seal.
Proper Drying and Curing Process
After applying the sealant, it is crucial to allow sufficient time for both drying and curing. Drying refers to the process of evaporation, during which the sealant loses its moisture content and becomes solid. Curing, on the other hand, involves the chemical reactions within the sealant that make it fully hardened and ready to withstand external factors.
The drying and curing time will depend on various factors, including the type of sealant, the ambient temperature, and the humidity levels. It is important to follow the manufacturer’s instructions regarding the recommended drying and curing time for optimal performance.
In conclusion, while it is possible to put roof sealant on a wet roof, it is not recommended. A dry surface is essential for proper adhesion, curing, and longevity of the sealant. Taking the time to prepare the roof, using a roofing primer, selecting the correct sealant, and following the proper drying and curing process will ensure a successful roof sealant application. So, before you grab your sealant, make sure your roof is dry and ready for the job!

